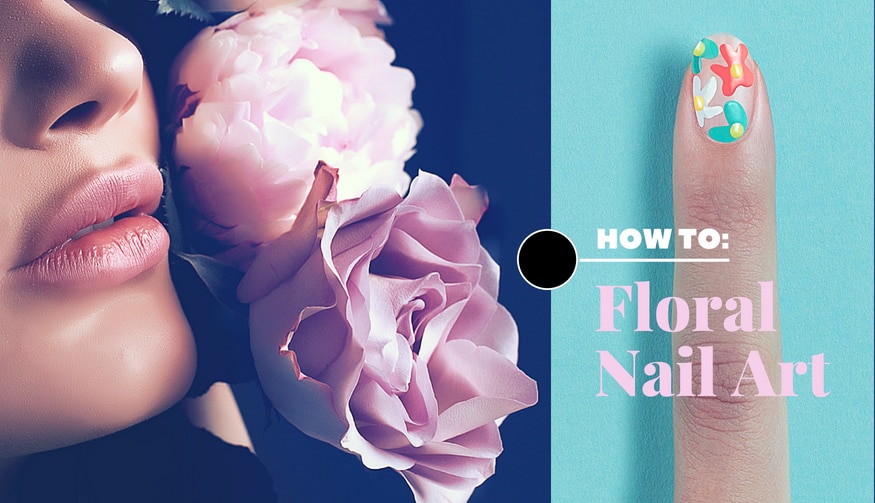
Proof that ditsy daisies and blooming botanicals are not just for spring, floral nail art will polish any look to perfection – whatever the season. Grab your girlfriends, a box of your favourite colours and breathe new life into your repertoire.
What Will I Need in my Kit?
- 3 x nail polishes in different colours
- 1 x yellow nail polish
- Cuticle/nail art sticks
- Transparent top coat
Step 1 – Draw petals in the corners of the nail
First up, file your nails until they are all similar in length and shape. Once you’re happy, work on one nail at a time and start creating the outline of petals. Dip a nail cuticle stick into your chosen polish colour, and draw two blobs towards the corners of your nail – these will form your petals.
Top tip: Practice on a piece of paper to get the consistency of the polish right. Too much polish will make your design look messy and the colours may bleed. Too little polish and it will take a few layers to finish your design.

Step 2 – Switch colour and draw another flower
Select a contrasting colour and new cuticle stick and in the middle of your petal ‘blobs’ create the backdrop for another flower.

Step 3 – Draw the last flower
Repeat step 2 in a different colour to close the gap in your nail design. We’ve done ours in a bold orange to add a pop of colour to any look.
Step 4 & 5 – The finishing touches
Once your petals are all dry, take a yellow nail polish and create a dot to the centre of each flower. With your dots all dry, finish with a clear top coat to seal in your floral nail art.


